My daughter says I have gone into crafting overdrive...That's probably true considering I have been busy with the
National Writing Project for the past three weeks. (She has even started calling my office/craft room the "Mom Cave"-- Love it!!) I was excited to get back to it this weekend and to catch up on making some of those great ideas I found out in blog land.
Just in time to link up with
Tara at 4th Grade Frolics for
Monday Made It! YAY!!
Project #1: Dry Erase "Erasers"
Tired of students never having an eraser for their dry erase marker? Hot glue pompoms on the end and they'll never be without an eraser again! I've seen this idea all over Pinterest so I don't know who to give the original credit to, but I thank you for your creativity!
Project #2: Cute Corner Bookmarks
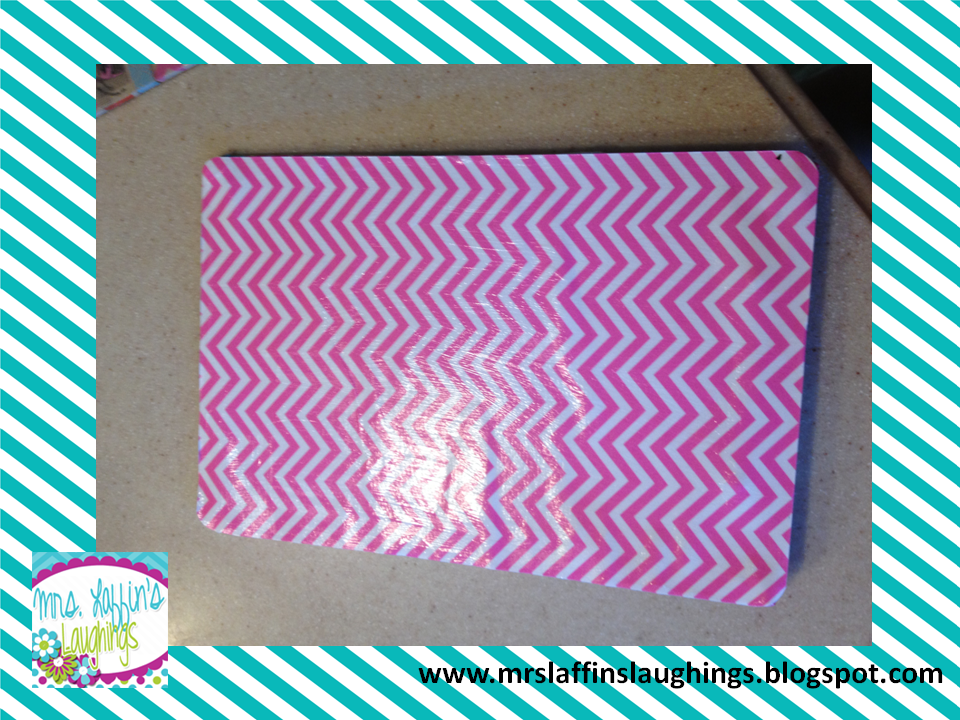
So cute and SO EASY! Found this idea on Pinterest and tracked down the original website
here. I am thinking about making one for each of my students for their first day goody bag.
Project #3: Clothespin Magnets
Found these beauties in the dollar bin at Michael's and they hopped right into my cart! I glued some magnet strips on the back of a few and on a few others, I hot glued a tack to use as a push pin.
Project #5: Behavior Beads from Run! Miss Nelson's Got the Camera.
I bought these the very first day I saw them because I love the idea of brag tags. She has so many fun varieties! I found some chain necklaces at Hobby Lobby and went to work with my laminator. This week, I have worked on cutting the sheets apart and putting them in a storage case.
Kara helped me cut the necklace chains...
Some words of advice if you take on this project...
1. Print them on WHITE cardstock, not colored cardstock. Look at the difference it makes...The first guy looks normal, the second looks sunburned, the third looks ill and the fourth looks sad. I am going to get some more white cardstock for the rest I need to print.
2. To make hole punching them easier, cut the page into three strips, hole punch with a tiny hole puncher, then cut into individual cards.
3. To store them, I would rubber band them into groups. It makes it easier to get them out of the case and let's say you get a visit from your Puggle who overturns the whole case because she's trying to convince you that you need to go feed her, you won't be separating them again. I'm just saying it could happen...
Project #6: Chair Book Pockets
In addition to being a Monday Made It project, this next project is an organizational tool, which qualifies me to link up with
Optimum Organization with
Fun in Room 4B and
Ladybug's Teacher Files. (I just made this linky party at the last minute...this is their
last week! :)
I grew tired of my students shoving their (my) paperback books into their desk and ruining the covers. Also, whenever we moved desks or brought our chairs to group work, the students always had trouble making sure they got THEIR chair back. So I came up with this plan....
Buy some Home Depot fabric tool belts for 77 cents each.
I made some student numbers to print and glue onto cardstock. The Home Depot logo is about 4 inches square, but I picked orange cardstock in case I didn't cut it exact. (I'm a little OCD with that...)
Talk your daughter into laminating them since she's sitting around waiting for you to take her to the horse farm anyways....
Hot glue (lots of glue!!) to cover the Home Depot logo.
Attach to the back of your students' chairs. (You can see that it even works on my kitchen table chair!)
I have made the numbers available in my
TPT store to save you the trouble of making your own numbers if you'd like to do this too!
However, if you pin this project and leave me the URL of your pin, I can send you the numbers for FREE! It's a win-win!! (Just make sure you are not a "no reply blogger. Not sure? Visit
Ideas by Jivey for a tutorial to find out.)
Can't wait to see what everyone else has done this week!